

In this article, you will discover essential golf cart electrical connection procedures that are crucial for making effective repairs. We will guide you through the necessary golf cart wiring techniques to ensure your vehicle operates smoothly and efficiently. Each step is designed to help you understand the complexities of golf cart electrical systems, enabling you to tackle any wiring issues with confidence.
- Understanding the Basics of Golf Cart Electrical Wiring
- Essential Tools Required for Golf Cart Electrical Wiring
-
Step-by-Step Guide to Wiring Your Golf Cart
- Understanding the Wiring Basics
- Gathering the Necessary Tools and Materials
- Step 1: Disconnect the Battery
- Step 2: Inspect Existing Wiring
- Step 3: Wiring Configuration
- Step 4: Connecting the Wires
- Step 5: Testing the Connections
- Step 6: Secure and Insulate the Wiring
- Step 7: Reconnect the Battery
- Step 8: Final Testing
- Troubleshooting Common Golf Cart Electrical Wiring Issues
- Safety Precautions to Consider During Golf Cart Electrical Wiring
Understanding the Basics of Golf Cart Electrical Wiring
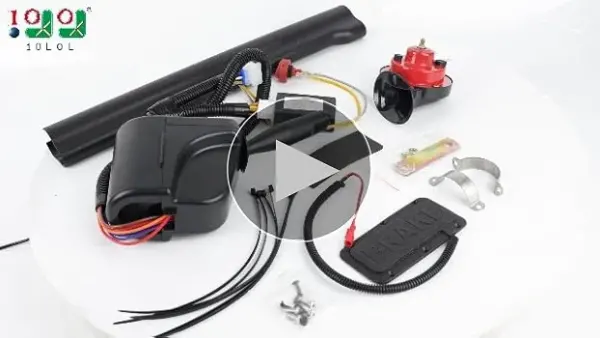
Golf cart electrical wiring is essential for ensuring that your vehicle operates smoothly and efficiently. Grasping the fundamental concepts of golf cart electrical systems can help you troubleshoot issues and perform effective repairs. This guide will break down the key components and processes involved in golf cart electrical wiring.
Key Components of Golf Cart Electrical Systems
To better understand golf cart electrical wiring, it's important to familiarize yourself with its main components:
- Batteries: Typically, golf carts use six-volt or eight-volt lead-acid batteries. Understanding the voltage configuration is crucial for optimal performance.
- Controller: This device regulates the power flow from the batteries to the motor, influencing speed and acceleration.
- Motor: The electric motor converts electrical energy into mechanical energy, driving the cart forward.
- Wiring Harness: A collection of wires that connect all electrical components, ensuring efficient energy transfer.
- Fuses and Relays: Safety devices that protect the electrical system from overloads and short circuits.
Basic Wiring Diagram Overview
A clear understanding of wiring diagrams is vital for effective repairs. A typical golf cart wiring diagram will include:
- Battery Connections: Illustrating how batteries are connected in series or parallel.
- Motor Wiring: Showing how the motor connects to the controller and power source.
- Ground Connections: Highlighting the importance of proper grounding to prevent electrical faults.
Understanding Voltage and Amperage
When working with golf cart electrical wiring, it's essential to grasp the concepts of voltage and amperage:
- Voltage: The electrical potential that drives current through the circuit. Golf carts commonly operate on 36 or 48 volts.
- Amperage: The flow of electrical current. Knowing the amperage requirements for your specific golf cart model helps prevent overloading.
Common Wiring Issues and Troubleshooting
Understanding potential wiring issues can save time and effort. Some common problems include:
- Corroded Connections: Check for rust or corrosion at battery terminals and wiring connectors, which can impede performance.
- Loose Wires: Ensure all connections are secure to prevent intermittent power loss.
- Faulty Components: Testing individual components like the controller and motor can help isolate problems.
Familiarity with these basics of golf cart electrical wiring will empower you to maintain and repair your golf cart effectively, ensuring a smooth and enjoyable ride.
Essential Tools Required for Golf Cart Electrical Wiring
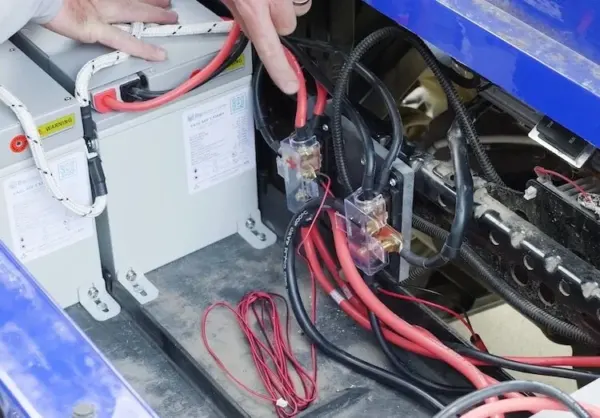
When embarking on the journey of golf cart electrical wiring, having the right tools is crucial for achieving effective repairs and ensuring a safe setup. Below is a comprehensive list of essential tools that will facilitate your electrical wiring tasks.
Basic Hand Tools
- Screwdrivers: A set of flathead and Phillips screwdrivers is necessary for loosening and tightening screws in various components.
- Wire Cutters: These are vital for cutting wires to the desired length. Look for a pair that offers precision cutting without fraying the wire ends.
- Wire Strippers: Essential for removing insulation from wires, wire strippers help ensure a clean connection for your electrical setups.
Specialized Electrical Tools
- Multimeter: This tool is indispensable for measuring voltage, current, and resistance, allowing you to troubleshoot electrical issues effectively. A reliable multimeter can range from $20 to $100, depending on features.
- Crimping Tool: Used for attaching connectors to wires, a crimping tool ensures secure and reliable connections. A quality crimper can cost between $15 and $50.
- Heat Shrink Tubing and Heat Gun: Heat shrink tubing is used to insulate connections, while a heat gun helps to shrink the tubing securely around the wires.
Safety Equipment
- Safety Glasses: Protect your eyes from potential debris or sparks while working on electrical systems.
- Insulated Gloves: Wearing insulated gloves can prevent electrical shocks when handling wires and components.
Additional Accessories
- Electrical Tape: This is useful for insulating and securing wire connections, ensuring they are protected from moisture and wear.
- Wire Connectors: Having a variety of connectors on hand, such as butt connectors and ring terminals, allows for versatile and effective wiring solutions.
- Labeling Machine: Keeping your wiring organized is crucial. A labeling machine can help identify wires and connections, making future repairs easier.
Equipping yourself with these essential tools will not only streamline your golf cart electrical wiring projects but also enhance the safety and reliability of your repairs. Each tool plays a specific role in the overall process, ensuring that you can tackle any electrical challenge with confidence.
Step-by-Step Guide to Wiring Your Golf Cart
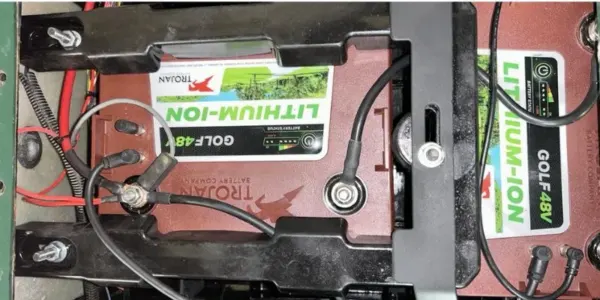
Wiring your golf cart can seem daunting, but with a clear step-by-step approach, you can effectively manage the electrical components for optimal performance. This guide will help you navigate the essential golf cart electrical wiring steps for effective repairs, ensuring your cart runs smoothly.
Understanding the Wiring Basics
Before diving into the wiring process, it’s important to familiarize yourself with some basic electrical concepts:
- Voltage: Golf carts typically operate on 36V or 48V systems. Ensure you know your cart's voltage.
- Wires and Connectors: Use appropriate gauge wires (usually 8-12 gauge) for power and ground connections.
- Fuses and Circuit Breakers: Protect your wiring with fuses rated for the specific amperage of your system.
Gathering the Necessary Tools and Materials
Before you begin, collect the following tools and materials:
- Wire strippers and crimpers
- Multimeter for testing
- Insulated connectors
- Electrical tape
- Replacement wires if needed
Step 1: Disconnect the Battery
Always start by disconnecting the battery to prevent any electrical shock or short circuit. Remove the negative terminal first, followed by the positive terminal.
Step 2: Inspect Existing Wiring
Carefully examine the existing wiring for any signs of wear or damage. Look for frayed wires, loose connections, or corrosion. This step is crucial as it helps identify any potential issues that need addressing.
Step 3: Wiring Configuration
Refer to your golf cart's wiring diagram, which is often found in the owner’s manual. If unavailable, you can usually find one online specific to your cart model. The wiring diagram will guide you on how to connect:
- Battery connections
- Motor connections
- Controller wiring
Step 4: Connecting the Wires
Start connecting the wires according to the wiring diagram. Here’s how to do it properly:
- Use insulated connectors to attach wires securely.
- Ensure positive wires are connected to positive terminals and negative wires to negative terminals.
- For multiple batteries, connect them in series or parallel as specified.
Step 5: Testing the Connections
After making the connections, use a multimeter to test for continuity. This will ensure that there are no breaks in the wiring. Check voltage at various points to confirm everything is working as intended.
Step 6: Secure and Insulate the Wiring
Once you’ve verified that all connections are functioning correctly, secure the wiring with electrical tape and zip ties to prevent any movement or damage while driving.
Step 7: Reconnect the Battery
Reconnect the battery terminals, starting with the positive terminal followed by the negative terminal. This ensures that your golf cart is ready for testing.
Step 8: Final Testing
With everything connected, perform a final test by turning on the golf cart. Check for proper functioning of the lights, horn, and motor. If everything operates smoothly, you have successfully wired your golf cart!
By following this step-by-step guide, you can effectively manage the wiring of your golf cart, ensuring reliable performance and safety on the course.
Troubleshooting Common Golf Cart Electrical Wiring Issues
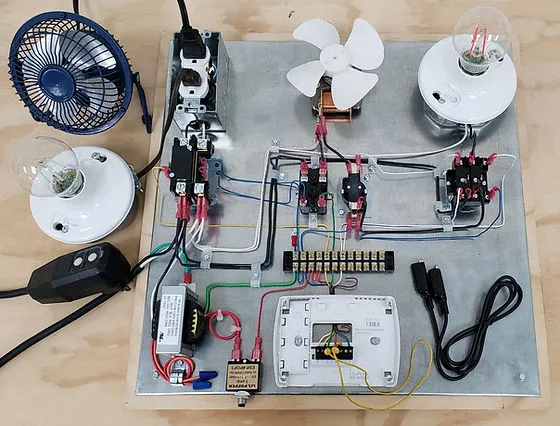
When experiencing issues with your golf cart, the electrical wiring is often the source of the problem. Understanding how to diagnose and resolve these common electrical wiring issues can save you time and money. Below are key steps and tips to effectively troubleshoot your golf cart’s electrical system.
Identifying the Problem
Before diving into repairs, it's essential to pinpoint the specific issue. Here are some common symptoms that may indicate electrical wiring problems:
- Cart won’t start: If the cart doesn’t respond when you turn the key, this may suggest an issue with the ignition wiring.
- Intermittent power: If the cart operates erratically, it may indicate loose or damaged connections.
- Dim lights: Weak or flickering lights can be a sign of voltage drops due to faulty wiring.
- Burning smell: A burning odor often suggests overheating wires, which can lead to severe electrical damage.
Checking Battery Connections
The battery is the heart of your golf cart’s electrical system. Ensure the following:
- All battery terminals are clean and free from corrosion.
- Connections are tight; loose connections can prevent adequate power flow.
- Battery voltage is sufficient, ideally around 12 volts for most systems.
Inspecting Wiring Harnesses
The wiring harness is crucial for connecting various electrical components. To ensure optimal performance:
- Look for frayed or damaged wires, which can lead to short circuits.
- Check for any exposed wiring that could come into contact with metal parts.
- Verify that connectors are secure and not rusted or corroded.
Testing Switches and Fuses
Faulty switches or blown fuses can disrupt your golf cart's electrical flow. Follow these steps:
- Examine the fuses for any signs of damage or breakage. Replace any blown fuses with the correct amperage rating.
- Test the ignition and accelerator switches using a multimeter to ensure they are functioning correctly.
Utilizing a Multimeter
A multimeter is an invaluable tool for diagnosing electrical issues. Use it to:
- Measure voltage across the battery and other key components.
- Check continuity in wiring to identify breaks.
- Test the output of switches and controllers to ensure they are delivering the correct voltage.
Consulting Professional Help
If you find yourself overwhelmed by the troubleshooting process, seeking assistance from a professional is a viable option. Technicians specializing in golf cart electrical systems can provide expert insights and repairs, ensuring your cart operates efficiently.
By systematically addressing these common golf cart electrical wiring issues, you can maintain your vehicle’s performance and enjoy a smoother ride on the course.
Safety Precautions to Consider During Golf Cart Electrical Wiring
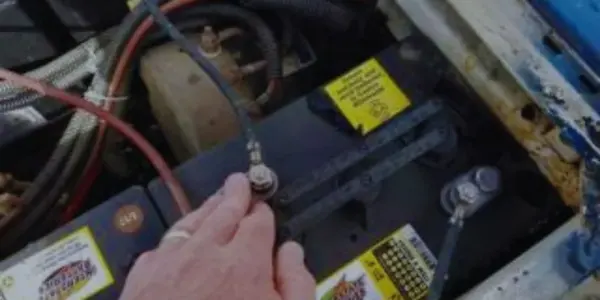
When engaging in golf cart electrical wiring, prioritizing safety is essential to ensure a successful and risk-free process. Here are several key precautions to keep in mind:
Proper Tools and Equipment
Using the right tools not only makes the job easier but also minimizes the risk of accidents. Ensure you have:
- Insulated tools: These help prevent electrical shock.
- Wire strippers and crimpers: Essential for preparing and connecting wires safely.
- Voltage tester: To check for live wires before starting any work.
Disconnect the Power Source
Before starting any electrical work on your golf cart, always disconnect the power source. This includes:
- Removing the battery terminals, starting with the negative terminal.
- Ensuring that any onboard chargers are unplugged.
Taking these steps helps to prevent accidental shocks and short circuits during the wiring process.
Work in a Dry Environment
Conducting electrical work in a dry area significantly reduces the risk of electrical shock. Consider the following:
- Choose a well-ventilated workspace, free from moisture.
- Avoid working in wet conditions or during rainy weather.
Wear Appropriate Personal Protective Equipment (PPE)
Equipping yourself with the right PPE is crucial. Recommended items include:
- Safety goggles: Protect your eyes from debris and sparks.
- Rubber gloves: Provide insulation against electrical shock.
- Non-slip footwear: To maintain stability and prevent falls.
Follow Manufacturer Guidelines
Each golf cart model may have specific wiring instructions. Adhering to these guidelines is vital for:
- Ensuring compatibility with electrical components.
- Maintaining warranty coverage.
Consult the owner’s manual or manufacturer resources to obtain accurate wiring information.

Double-Check Connections
After completing the wiring, take the time to verify all connections. This step is important to:
- Prevent potential electrical failures.
- Ensure that wires are properly insulated and secured.
By implementing these safety precautions, you can create a safer environment while performing essential golf cart electrical wiring tasks. Remember, taking the time to prioritize safety not only protects you but also enhances the longevity and performance of your golf cart.
We’d love to hear your thoughts or questions about Golf Cart Electrical Wiring Steps! Your insights and inquiries not only enrich our community but also help others who might be navigating similar challenges. Whether you're a seasoned expert or just starting out, sharing your perspective can spark valuable discussions. So, please feel free to drop your comments below—we're eager to engage with you!
Leave a Reply