
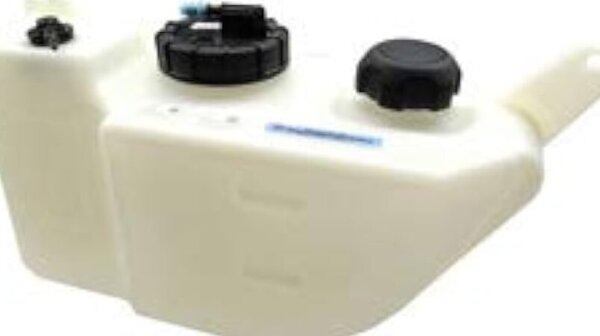
This article provides a comprehensive overview of golf cart fuel tank replacement, guiding you through the essential steps for efficient repairs. You'll discover tips on selecting the right parts, detailed installation procedures, and troubleshooting common issues. Whether you're a novice or an experienced DIYer, this complete guide will equip you with the knowledge needed for successful golf cart gas tank swaps. Prepare to enhance your cart's performance with expert advice on fuel reservoir changes.
- Understanding the Importance of Golf Cart Fuel Tank Replacement
- Signs That Indicate Your Golf Cart Needs a Fuel Tank Replacement
- Step-by-Step Guide to Replacing Your Golf Cart Fuel Tank
- Choosing the Right Fuel Tank for Your Golf Cart Model
- Common Mistakes to Avoid During Golf Cart Fuel Tank Replacement
Understanding the Importance of Golf Cart Fuel Tank Replacement
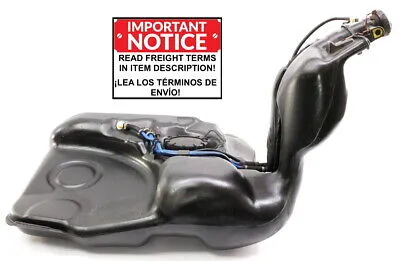
When it comes to maintaining your golf cart, the fuel tank is a critical component that often goes unnoticed. Regularly assessing and replacing the golf cart fuel tank is essential for ensuring optimal performance and longevity.
Why Timely Replacement Matters
A worn or damaged fuel tank can lead to several issues that affect not only the performance of your golf cart but also its safety. Here are some key reasons why timely replacement is crucial:
- Prevention of Fuel Leaks: A compromised tank can result in fuel leaks, which pose safety hazards and environmental concerns.
- Improved Fuel Efficiency: A new tank ensures that your golf cart operates at peak efficiency, minimizing fuel wastage.
- Enhanced Performance: Replacing a deteriorating tank can lead to smoother operation and better overall performance.
Signs You Need a Replacement
Recognizing the signs that indicate your golf cart's fuel tank requires replacement is vital. Look out for the following indicators:
- Visible Damage: Cracks, dents, or corrosion on the fuel tank surface can compromise its integrity.
- Unusual Odors: A strong smell of fuel around the tank may indicate a leak.
- Decreased Performance: If your golf cart struggles to start or has reduced acceleration, it may be time for a tank replacement.
Choosing the Right Replacement Tank
Selecting the correct replacement tank is essential for compatibility and performance. Consider the following factors when making your choice:
- Material: Fuel tanks are typically made from polyethylene or metal. Polyethylene tanks are lightweight and resistant to corrosion, while metal tanks may offer more durability.
- Capacity: Ensure that the replacement tank matches the specifications of your golf cart for optimal performance.
- Brand Compatibility: Always choose a fuel tank that is compatible with your specific golf cart brand and model.
Maintenance Tips Post-Replacement
After replacing your golf cart's fuel tank, regular maintenance can extend its lifespan. Here are some helpful tips:
- Regular Inspections: Periodically check for any signs of wear or leaks.
- Proper Fuel Storage: Use high-quality fuel and store it properly to avoid contamination.
- Routine Cleaning: Keep the tank and surrounding areas clean to prevent buildup that could affect performance.
Investing in a timely golf cart fuel tank replacement not only enhances your cart's performance but also contributes to a safer and more enjoyable riding experience. Recognizing the importance of this component ensures that you maintain your golf cart in excellent working condition.
Signs That Indicate Your Golf Cart Needs a Fuel Tank Replacement
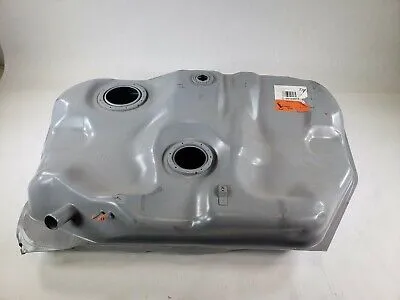
If you're an avid golfer or a recreational golf cart user, keeping your vehicle in optimal condition is crucial for a smooth experience on the course. Recognizing the signs that your golf cart requires a fuel tank replacement can save you from unexpected breakdowns and costly repairs. Below are key indicators to watch for:
1. Fuel Leaks
One of the most alarming signs of a failing fuel tank is the presence of fuel leaks. If you notice any puddles of gasoline beneath your golf cart or detect a strong fuel odor, it may indicate that your fuel tank is compromised. Leaks can lead to hazardous situations, and addressing them promptly is essential.
2. Fuel Gauge Malfunctions
If your fuel gauge is consistently reading inaccurately or fluctuating erratically, it could signal an issue with the fuel tank itself. A malfunctioning gauge might indicate that the tank is damaged or that there is a problem with the sending unit. Ensuring accurate readings is vital for managing your golf cart's fuel levels effectively.
Signs of a Malfunctioning Gauge Include:
- Gauge stuck on empty or full
- Rapid fluctuations in readings
- Inconsistent fuel level readings
3. Decreased Performance
A noticeable drop in your golf cart’s performance can be a sign that the fuel tank is not functioning correctly. If you experience sluggish acceleration, difficulty starting, or frequent stalling, it may be time to inspect the fuel tank. A failing tank can restrict fuel flow, impacting the overall performance of your vehicle.
4. Unusual Noises
Listen for any unusual noises coming from your golf cart. If you hear hissing or gurgling sounds when the cart is running, it may indicate air entering the fuel system due to a damaged tank. Such sounds should not be ignored, as they can lead to more significant issues down the line.
5. Corrosion and Rust
Examine the exterior of your fuel tank for any signs of corrosion or rust. This deterioration can compromise the integrity of the tank, leading to leaks and fuel contamination. If you observe any rust spots or flaking paint, it is advisable to consider a replacement to ensure safe operation.
6. Fuel Odor Inside the Cart
If you notice a persistent fuel smell inside your golf cart, this could indicate a serious issue with the fuel tank. A damaged or leaking tank can allow fumes to enter the cabin, posing health risks and increasing the chance of fire hazards. Addressing this issue immediately is paramount.
Recognizing these signs early can help you take the necessary steps toward a golf cart fuel tank replacement, ensuring your vehicle operates safely and efficiently. Regular maintenance checks can also prevent many of these issues from arising, keeping your golf cart in prime condition for your next outing.
Step-by-Step Guide to Replacing Your Golf Cart Fuel Tank
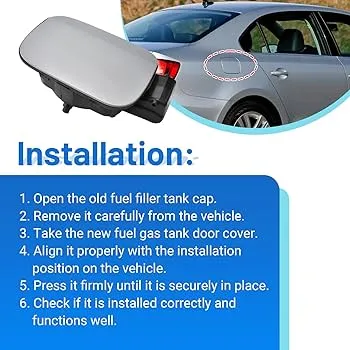
Replacing the fuel tank in your golf cart is a straightforward process that can enhance performance and longevity. This guide will walk you through each step to ensure a successful replacement.
Tools and Materials Needed
Before you start, gather the following tools and materials:
- Wrench set - for loosening bolts
- Screwdriver - for removing screws
- New fuel tank - ensure compatibility with your golf cart model
- Fuel line - replace if damaged
- Safety goggles - to protect your eyes
- Gloves - to keep your hands clean
- Shop towels - for any spills
Step 1: Prepare the Golf Cart
Ensure your golf cart is on a flat surface and turn off the ignition. Disconnect the battery to prevent any electrical issues during the replacement process.
Step 2: Drain the Old Fuel Tank
To avoid spills, carefully drain the fuel from the existing tank. You can use a siphon pump or simply open the fuel line. Ensure you have a container to catch the fuel.
Step 3: Remove the Old Fuel Tank
Locate the bolts or screws holding the fuel tank in place. Use your wrench and screwdriver to remove them carefully. Keep the hardware in a safe place for reinstallation. Once detached, lift the old tank out of the compartment.
Step 4: Install the New Fuel Tank
Position the new fuel tank in the same spot as the old one. Secure it with the original bolts or screws, ensuring it is tightly fastened to avoid leaks.
Step 5: Reconnect the Fuel Lines
Attach the fuel lines to the new tank, ensuring they fit snugly. If you notice any wear on the lines, replace them to ensure a proper seal.
Step 6: Reconnect the Battery
After confirming that everything is securely in place, reconnect the battery. Double-check all connections to ensure they are tight.
Step 7: Test the New Fuel Tank
Before taking your golf cart out for a ride, perform a test to ensure there are no leaks. Start the engine and let it run for a few minutes, checking for any fuel leaks around the tank and lines.
Maintenance Tips
To prolong the life of your new fuel tank, consider these maintenance tips:
- Regularly check for leaks and damage.
- Keep the fuel tank clean and free from debris.
- Use high-quality fuel to prevent contamination.
Following this step-by-step guide will not only help you successfully replace your golf cart's fuel tank but also enhance your overall golfing experience. Enjoy your time on the course with a well-maintained golf cart!
Choosing the Right Fuel Tank for Your Golf Cart Model
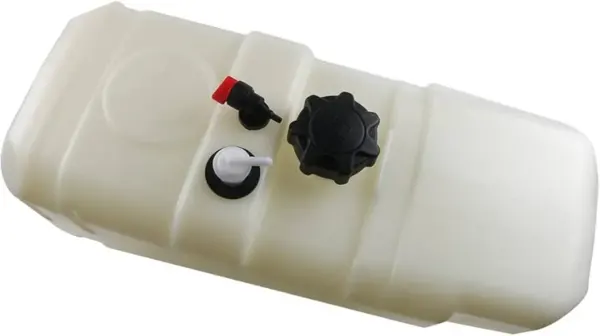
Selecting the appropriate fuel tank for your golf cart is essential for ensuring optimal performance and longevity. Various models have specific requirements, and understanding these can save you time and money on maintenance. Below are key considerations to help you make an informed choice.
Understand Your Golf Cart's Specifications
Before purchasing a replacement fuel tank, it is crucial to know the specifications of your golf cart. This includes:
- Model Year: Different years may have varying tank designs.
- Manufacturer: Brands like Club Car, EZGO, and Yamaha often have unique fuel tank requirements.
- Engine Type: Gas-powered carts typically have different tank needs compared to electric models.
Material Considerations
Fuel tanks are commonly made from either plastic or metal. Each material has its advantages:
- Plastic Tanks: Lightweight and resistant to rust, making them ideal for humid environments. They typically cost around $100 to $250.
- Metal Tanks: More durable and often preferred for high-performance applications, but they can be prone to corrosion. Prices usually range from $150 to $300.
Capacity and Size
The capacity of the fuel tank affects how far your golf cart can travel before refueling. When selecting a tank, consider:
- Standard Capacity: Most golf carts require a tank that holds between 5 to 10 gallons of fuel.
- Space Constraints: Ensure the tank fits well within the designated area of your cart.
Compatibility and Installation
Not all fuel tanks are universally compatible. Look for tanks specifically designed for your golf cart model to ensure proper fit and function. Additionally, consider the installation process:
- DIY Installation: Some tanks come with detailed instructions, making it feasible for owners to install them themselves.
- Professional Help: If you’re unsure about installation, hiring a professional can prevent potential issues.
Brand Recommendations
Choosing reputable brands can significantly affect the performance and reliability of your golf cart's fuel system. Consider these well-known options:
- Club Car: Offers durable and reliable fuel tanks, typically priced between $200 and $300.
- EZGO: Known for their efficient designs, with tanks generally available from $150 to $250.
- Yamaha: Provides quality tanks that are built to last, usually costing around $180 to $280.
Understanding these factors will help you choose the right fuel tank tailored to your golf cart model, ensuring smooth operation and an enhanced driving experience.
Common Mistakes to Avoid During Golf Cart Fuel Tank Replacement
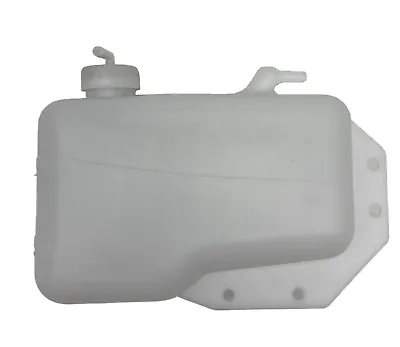
Replacing a golf cart fuel tank can be a straightforward task, but several common pitfalls can lead to complications. Here’s a guide to help you steer clear of these mistakes.
1. Ignoring Safety Precautions
Before starting the replacement, ensure you take the necessary safety measures. This includes:
- Disconnecting the battery: Prevents any electrical hazards during the process.
- Working in a well-ventilated area: Reduces the risk of inhaling harmful fumes from the fuel.
- Wearing protective gear: Safety goggles and gloves can protect you from fuel spills and sharp edges.
2. Failing to Drain the Old Fuel Completely
One of the biggest mistakes is not draining the old fuel before removing the tank. Residual fuel can cause spills and create a hazardous environment. Make sure to:
- Use a siphon pump to remove fuel efficiently.
- Dispose of old fuel according to local regulations.
3. Using Incorrect Tools
Utilizing the wrong tools can complicate the fuel tank replacement process. Ensure you have:
- Wrenches and sockets: The right sizes for loosening bolts and fittings.
- Fuel line disconnect tools: Necessary for safely detaching fuel lines.
4. Neglecting to Inspect the Fuel Lines
While replacing the tank, it’s crucial to check the fuel lines for wear and tear. Avoid:
- Reusing damaged lines, as they can lead to leaks.
- Overlooking the condition of connectors, which can cause fuel flow issues.
5. Not Following Manufacturer Guidelines
Each golf cart model may have specific instructions for fuel tank replacement. Ensure you:
- Refer to the owner’s manual for detailed steps and specifications.
- Use OEM (Original Equipment Manufacturer) parts to ensure compatibility.
6. Rushing the Installation Process
Take your time to ensure everything is correctly installed. Rushing can lead to:
- Improper sealing, resulting in leaks.
- Loose connections that may cause performance issues.

7. Forgetting to Test for Leaks
After installation, it’s vital to check for leaks before fully reassembling the cart. This involves:
- Reconnecting the battery and running the cart briefly.
- Inspecting the tank and lines for any signs of fuel leakage.
Avoiding these common mistakes will not only streamline your golf cart fuel tank replacement process but also ensure the longevity and efficiency of your repairs.
We truly value your insights and experiences! If you have any thoughts, questions, or personal anecdotes regarding Golf Cart Fuel Tank Replacement, we warmly invite you to share them in the comments. Your input not only enriches our community but also helps others navigate their own journeys with golf cart maintenance. Let’s engage in a meaningful conversation together!
Leave a Reply